I’ll start out by saying that we definitely don’t live in a Tiny House, or even what most would consider a “small space”. Our current apartment is roughly 1,200 square feet -- twice the size of my first apartment post-college! And yet, after living here for nearly five years, we find ourselves somehow running out of room. Maybe it's because we're secret hoarders. Since we're going through this process of getting rid of things and repurposing our house, I thought I'd share a little bit about our process.
While we are extremely lucky to have a second bedroom, we had been using as a sort of guest room/office/storage facility since we moved in. And, you know, we’re in need of a nursery. So all that stuff is coming out. I’m definitely in nesting mode, and we’ve been working hard to get the house ready for this kid to move in (hopefully not before her due date - stay in there, little girl!).
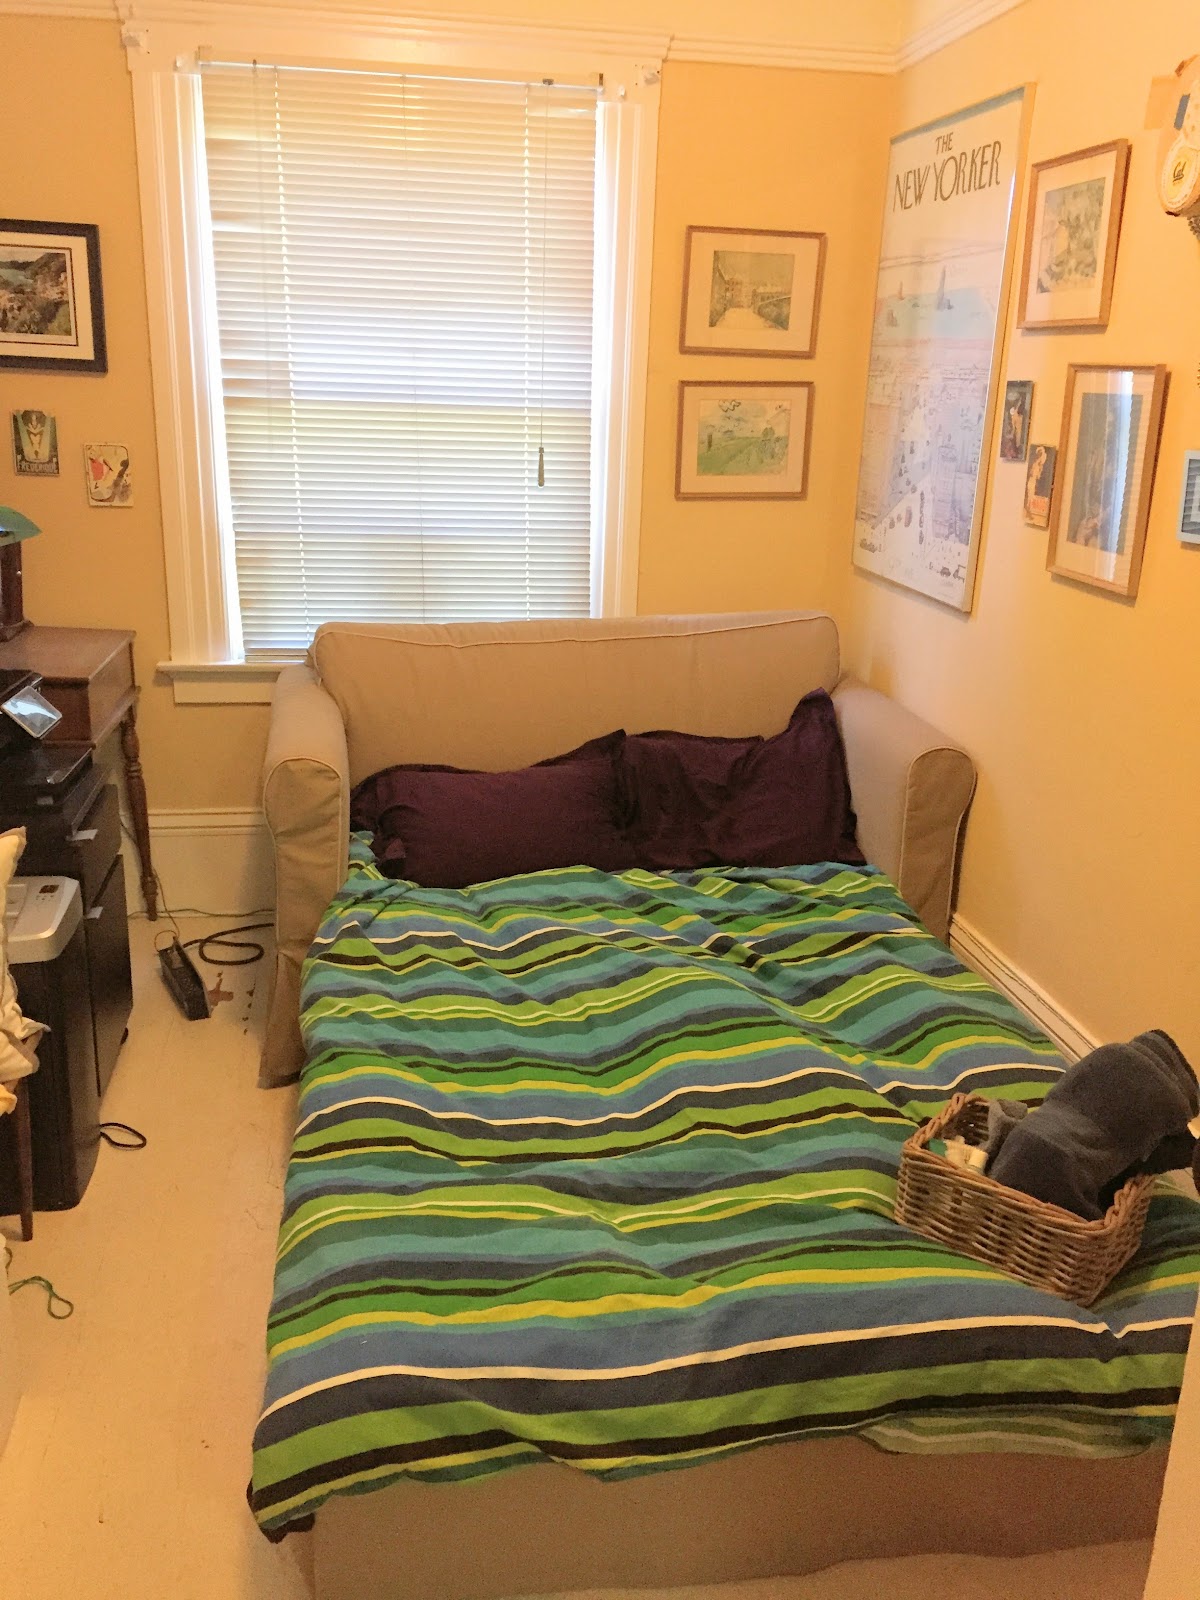
Guest room in action - a fold out loveseat
is clutch for a small space!
Not so great for a baby though...
How have we tackled this project so far? Just a few easy steps!
Step 1: Realize how much stuff you have. Panic.
For us, this was compounded by the fact that our landlord has reduced the amount of basement storage we’re able to use (totally within their rights, just not great timing for us - ah, renting!). We’d been storing off-season decorations, childhood memorabilia, oversized camping gear, and other basement-y paraphernalia down there, to alleviate some of our storage needs in the house. Once we moved the basement stuff up into the house, things started getting really tight.
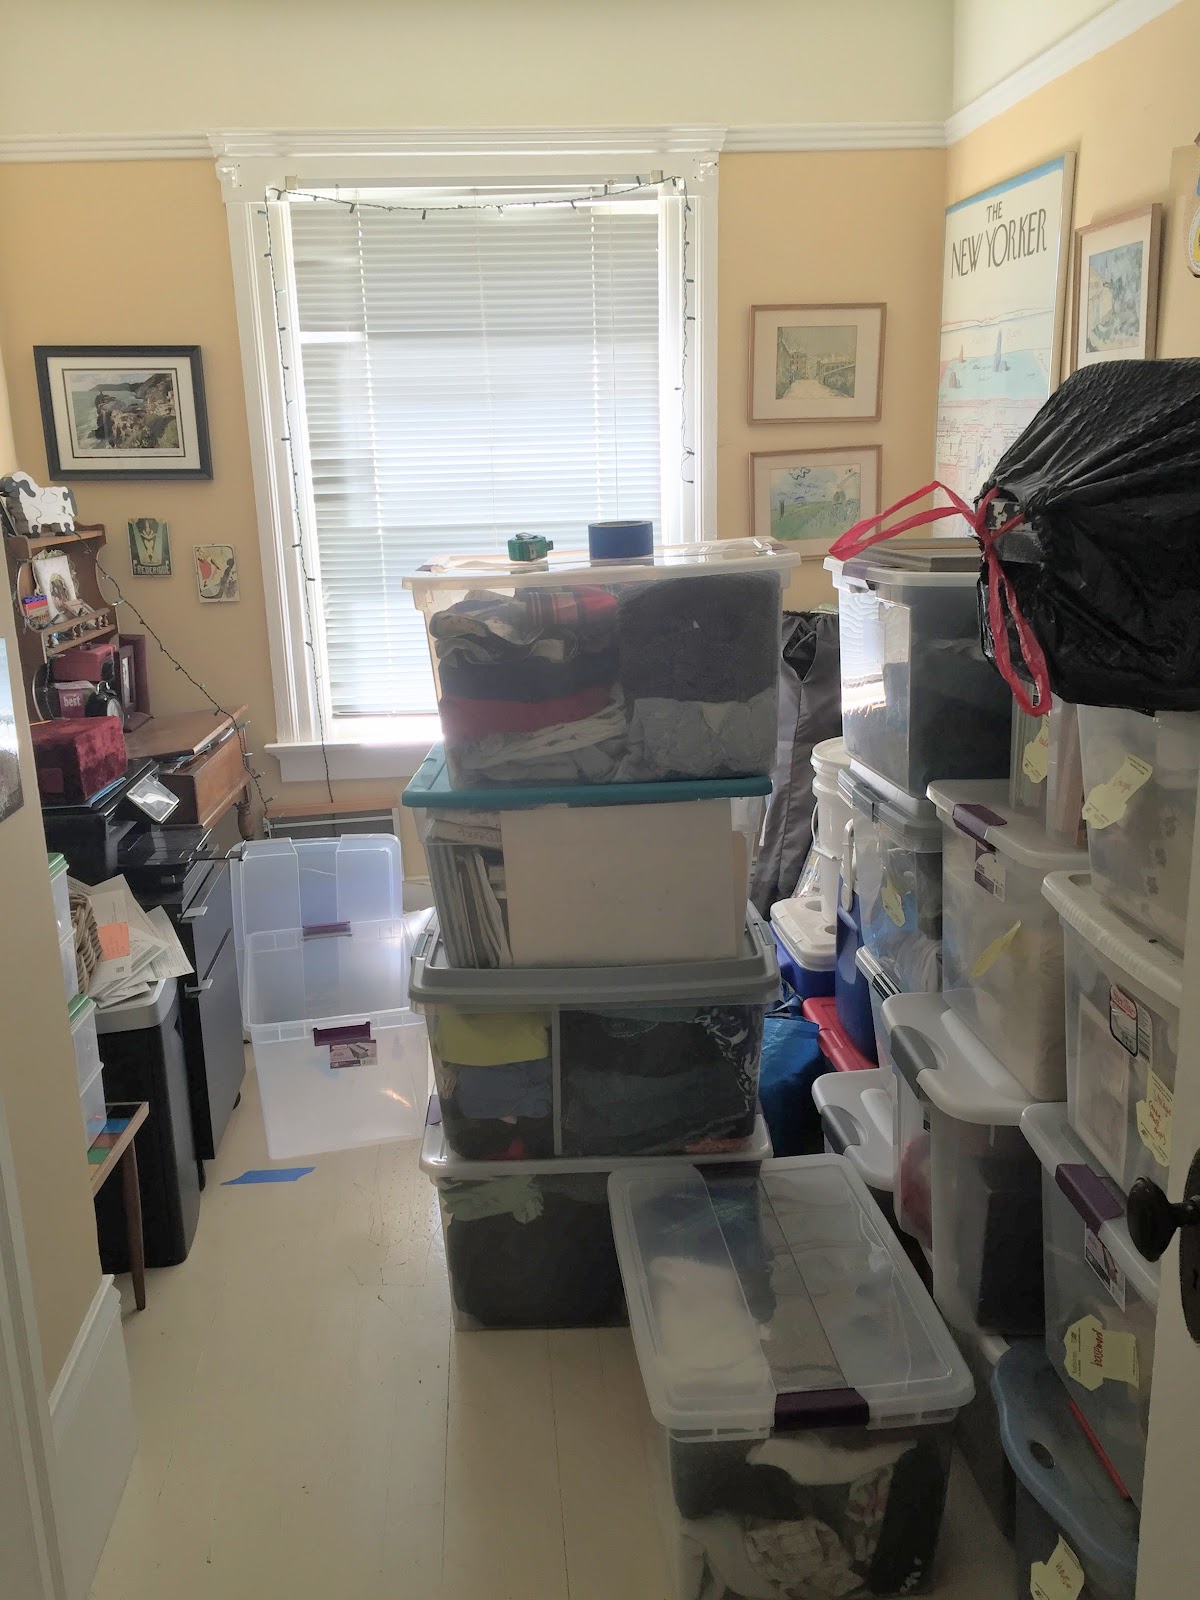
Our very own storage unit, inside our house!
But where will baby go?
Step 2: Disagree with your spouse about the quantity of stuff you have.
In hindsight, this was an important step for us, because it meant we’ve actually had to stock of what we have, rather than just dumping it all in a storage unit without really knowing what we’re storing. It also means we’re thinking a little bit more about what we’re doing so we don’t get the wrong size unit. Even if you don’t disagree on your plan of action, taking the time to make a plan means your path to storage will be more efficient.
Step 3: Sort (and Purge) Your Stuff.
Because we disagree on the amount of stuff we want to store long-term, we’ve been doing some serious sorting (and purging - hooray!). If you have some space in your house, you can temporarily create a pile in a corner, or better yet, in the middle of a room where you’ll see it all the time and be forced to deal with it. For us, right now, all available space is either Baby Stuff or Stuff To Be Sorted. Sorted Stuff is either purged, moved temporarily off-site (thanks, friends letting us use a corner of their garage!), or in a pile in the only available floor space we have left. Oops. When you’re thinking about putting things in storage, take the time to sort before you store!
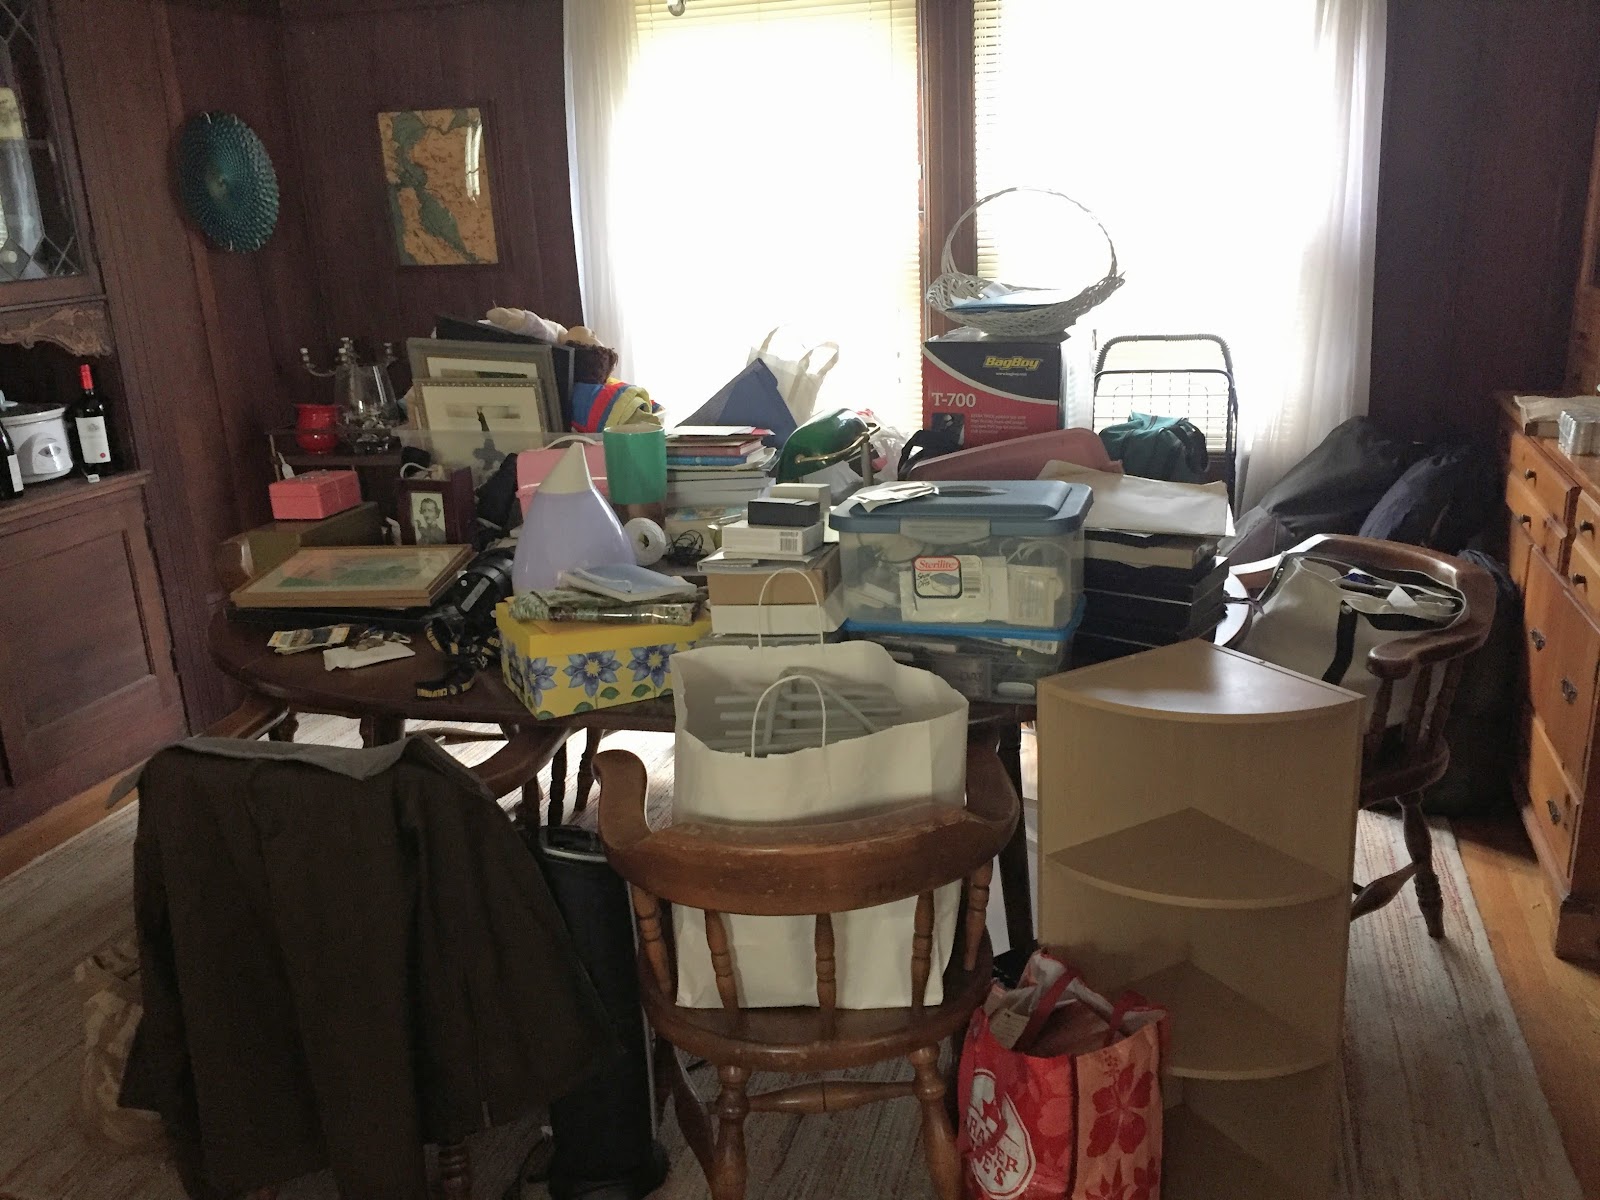
The bulk of the stuff that we removed from the nursery.
It’s a lot of stuff. We feel like hoarders. It’s embarrassing.
And this isn’t even all of it.
Step 4: Take Stock
Once we were (mostly) done sorting and purging, we took stock of what we have and decided what size storage unit we actually need - my plan was to avoid moving into a storage unit that’s too big or too small and having to move it all around twice. We’re about ⅔ of the way done here (rough and unscientific estimation), and we've begun moving things into storage. Separate post on this coming soon...
Have you undertaken any home changes that required you to change the way you think about storage...and stuff?
No comments:
Post a Comment